


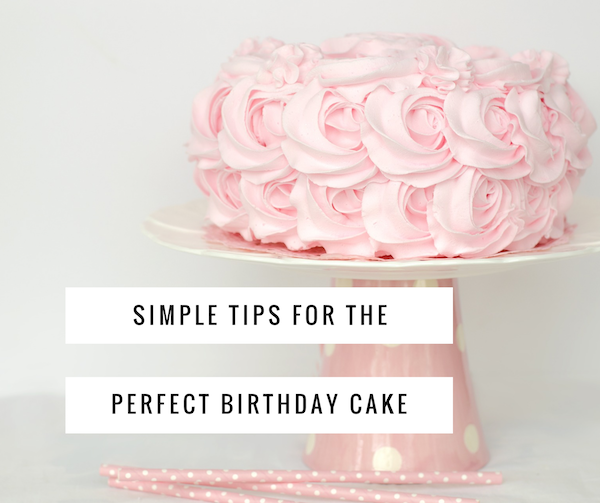
Birthday’s are a BIG deal in our house! As moms, we love and adore our kids and want to make their big day as special as they are. We could write a dozen blog posts on parties, but I want to start with the birthday cake. The cake is the centerpiece of our family’s parties, besides the birthday kid that is. Whether you’re a natural Betty Crocker or not, there are some tips to make cake baking and decorating so much easier. Here are five tips for the perfect birthday cake.
1. Bake and Freeze the Cake
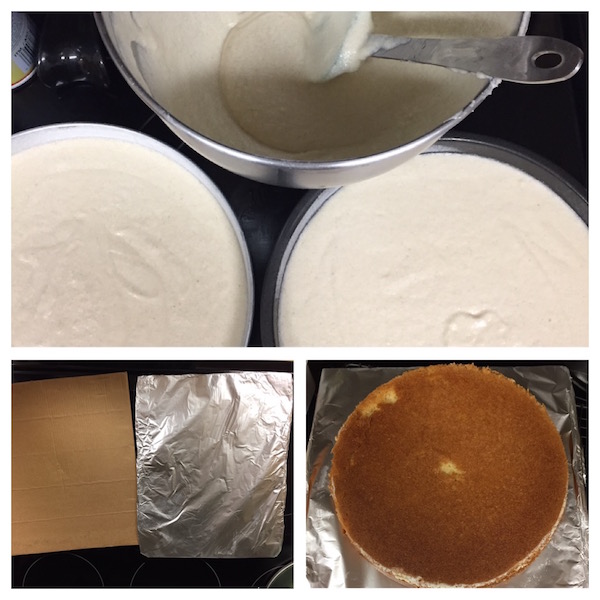
Whether you’re making the birthday cake (or cupcakes) from scratch or from a box, the biggest and MOST IMPORTANT TRICK is to let it cool and then freeze it. This allows you to make the cake a month beforehand if you want, and leave it in the freezer until you’re ready. Freezing the cake is also THE secret to moist cake.
After baking, allow your cake to cool on a wire rack, and cover a large piece of cardboard in foil. When the cake is cooled, run a knife around the edge to loosen it, put the cardboard on the cake, and then carefully flip the cake over onto the cardboard. Wrap it really well with saran wrap and put it in the freezer until you’re ready to frost and decorate.
2. Fabulous Frosting
I make the frosting for my cake right before I’m ready to decorate it. I personally love cream cheese butter cream frosting and Cool Whip frosting. Make two batches to ensure you have enough. The Cool Whip can be temperamental to decorate with, but it’s light, creamy, and not overly sweet. Both are total crowd-pleasers.
3. Helpful Tools
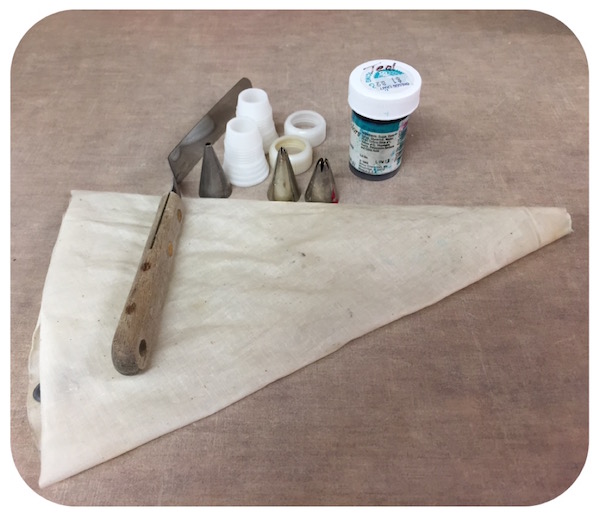
A decorating spatula, food coloring, and icing bags with couplers and a few decorating tips are all you really need. These can be ordered on Amazon or picked up at most craft stores.
4. Decorate the Cake Like a Pro
Decorating the cake while it’s frozen is so much easier than cooled out of the oven. It prevent cake crumbs in your frosting. But no matter when you frost, never pull directly up from the cake. Rather, sweep the decorating spatula to the side and away. You can either frost and decorate your cake the day before or the day of the party but be sure and let a frozen cake sit out for a few hours after it’s decorated to thaw.
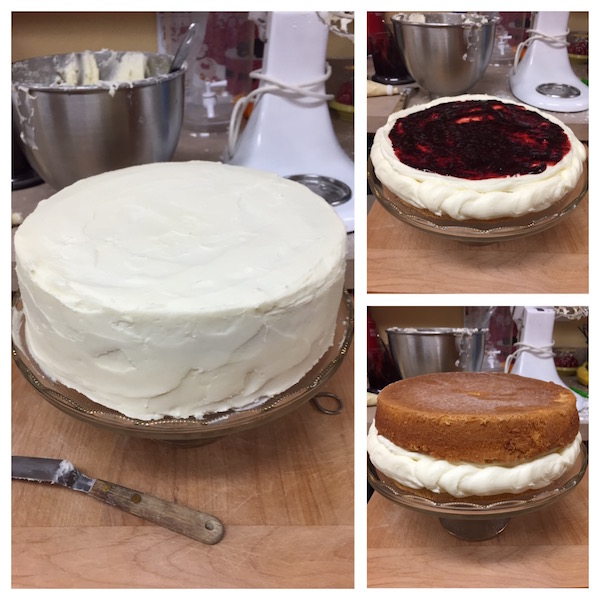
Our family loves two or three layer cakes because they look like something you would get from a specialty bakery, and the filling in the middles makes it extra delicious! Here are my steps to decorate the cake like a pro:
- Place the frozen cake on a pretty cake stand.
- Spread frosting on the middle layer. I usually go around the edge with the frosting bag to make a bigger edge so the filling won’t push through the sides of the cake.
- Add the filling of your choice. Our favorite is mixed berries we’ve picked over the summer and frozen. I blend them up with some homemade strawberry jam and it tastes like a spoonful of summer!
- Place the other cake on top.
- Secure it by pushing a few toothpicks into the cake. (Whoever finds the toothpicks does the dishes!)
- Finish frosting the sides and top. You can make the frosting smoother by dipping your decorating spatula in warm water and lightly sliding it over the frosting.
- Add your trim in the same color or a fun color to add a pop to your cake.
- Put your candles or a topper on it and your birthday cake is complete!
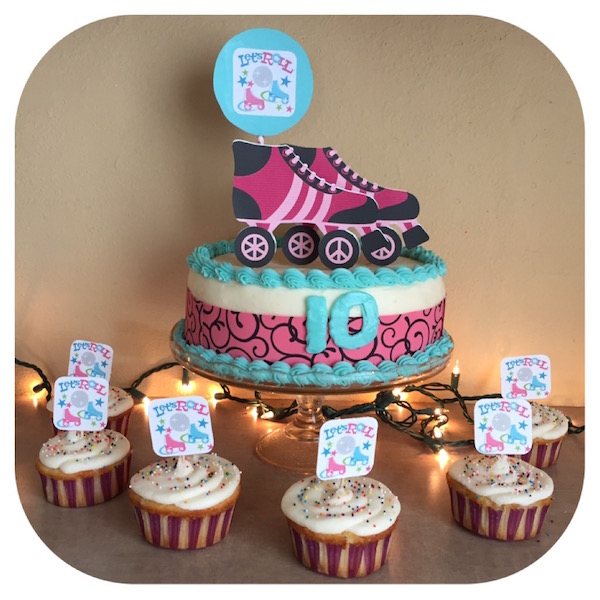
5. Adding the Extras for the Wow Factor
I like to keeps things simple, but if you want, you can also add a few fun things to really spruce it up. This year I printed off a graphic of roller skates, glued them onto cardboard, and, using toothpicks, placed it on the cake as a topper. I also printed and cut out the cupcake topper graphic, and taped them to toothpicks. It was cute and simple. No rolled fondant or crazy Pinterest creations for me (I’ve never recovered since pulling off the R2D2 cake two years ago). This week I used a product called Sugar Sheets for the first time. They’re amazing you guys! It’s edible, beautiful, and you just cut them like a piece of paper and place on the cake. I will definitely be using those again!
It’s really that simple. Anyone can do it! Your kids and friends will be impressed and satisfied at how tasty your birthday cake is.


Great tips, Jody!!! I have never frozen a cake, but that makes sense. Thanks.
Comments are closed.